
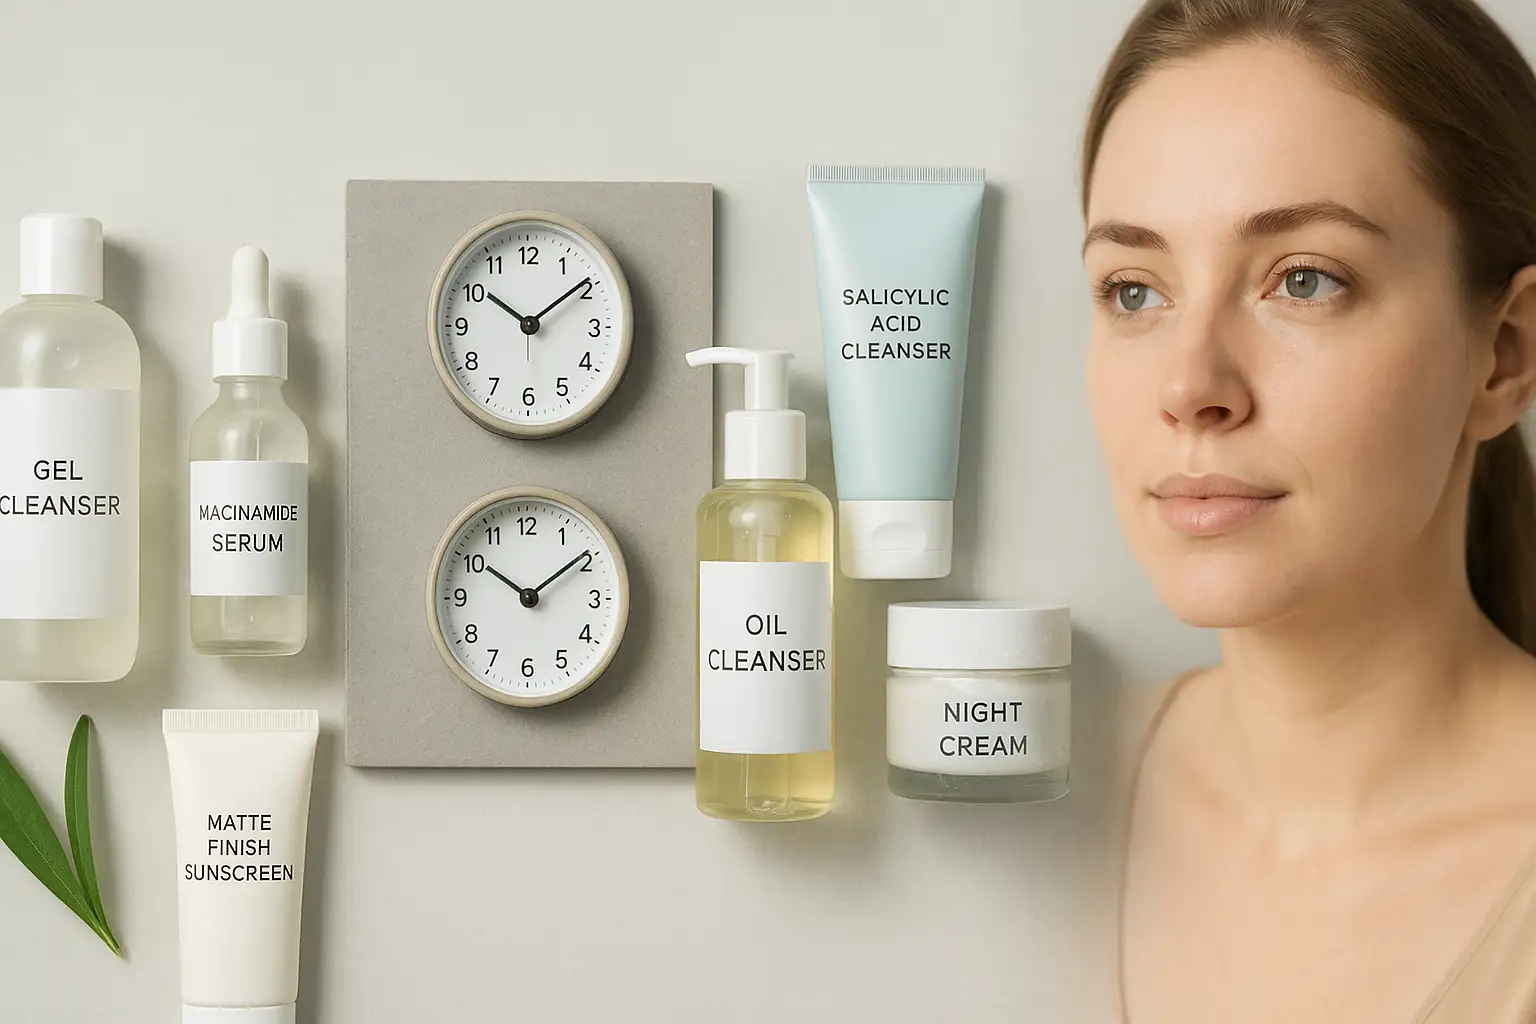
Tired of that unwanted midday shine, enlarged pores, and makeup that seems to slide off your face by lunchtime? If you have oily skin, you know the struggle is real. But here’s a secret: oily skin can be a blessing in disguise—it’s often more resilient and ages slower! The key to managing it isn’t to strip it bare, but to balance it with a consistent, gentle routine.
This easy 6-step skincare routine for oily skin is designed to do exactly that. We’ve broken it down into a simple morning ritual (focused on protection) and a nighttime ritual (focused on repair). Let’s dive in and transform your skin.
First, Why is My Skin So Oily?
BeBefore we dive into the steps, let’s hit pause on the frustration and understand the “why.” Knowing what’s happening beneath the surface is the first step toward effectively managing it. That shiny, sometimes greasy feeling comes down to one thing: sebum.
Sebum is a natural, waxy oil produced by your sebaceous glands, which are found all over your skin but are most concentrated on your face, chest, and back. In normal amounts, sebum is your skin’s best friend! It forms a protective barrier called the acid mantle, which locks in moisture and shields your skin from environmental aggressors like bacteria and pollution.
The problem arises when these glands go into overdrive, producing more sebum than your skin needs. This is what we call oily skin. So, what flips the “on” switch? It’s usually one or a combination of these four key factors:
1. Genetics: It’s in Your DNA
- Think of your skin type as a fundamental part of your blueprint, much like your eye color or height. If one or both of your parents have oily skin, you’re more likely to have it too. Your genetic code determines the size and activity level of your sebaceous glands. Some people are simply born with glands that are more prolific producers.
2. Hormones: The Internal Rollercoaster
- Hormones are the master regulators of sebum production, with androgens (like testosterone) being the primary drivers. This is why oily skin often:
- Kicks in during puberty for both boys and girls.
- Fluctuates around your menstrual cycle, often becoming oilier in the week before your period.
- Can be affected by stress, as cortisol (the stress hormone) can also stimulate oil production.
- May be influenced by conditions like Polycystic Ovary Syndrome (PCOS), which causes hormonal imbalances.
3. Environment: The World Around You
- Your skin responds directly to its surroundings.
- Humidity & Heat: Hot, humid weather stimulates sweat and oil production, leading to that “glazed donut” feeling.
- Seasonal Changes: Many people find their skin is oilier in the summer and may become more combination (oily T-zone, dry cheeks) in the cold, dry winter months.
4. Your Skincare Mistakes: The Rebound Effect
- This is a crucial point that many people get wrong. If you aggressively attack oil with:
- Harsh, stripping cleansers (especially those with high amounts of alcohol or sulfates).
- Skipping moisturizer because you think your skin is “hydrated enough” by its own oil.
- Over-exfoliating with physical scrubs or strong acids…
…you can seriously damage your skin’s protective barrier. Your skin, in a panic, will then produce even more oil to compensate for the loss and repair its damaged barrier. This is known as reactive seborrhea—the very opposite of what you want!
The Takeaway: Balance is Everything
Understanding these causes shifts the entire goal of your skincare. It’s not about declaring war on oil and trying to eradicate it. A shiny, tight, “squeaky-clean” face is actually a sign of a compromised barrier. The true goal is balance. The following routine is designed to gently manage excess oil while keeping your skin barrier healthy, hydrated, and resilient. When you achieve that balance, the oil production often naturally calms down on its own.
Your Morning Skincare Routine for Oily Skin
Think of your morning routine as your skin’s daily armor. While you slept, your skin was busy repairing itself, which can mean a fresh layer of oil on the surface by morning. The goal here isn’t to strip that away aggressively but to gently reset, hydrate, and, most importantly, protect your skin from the day ahead. This 5-step ritual is designed to control shine, provide weightless moisture, and create a perfect, matte canvas for your day.
Step 1: Gentle Cleanser – The Reset Button
Why it’s crucial: After a night of skin regeneration, a gentle cleanse removes excess sebum, sweat, and any residue from your nighttime products. It preps your canvas without sending your oil glands into a panic.
- What to Use: Opt for a water-based, gel, or foaming cleanser. Key ingredients to look for include Salicylic Acid (to gently clean inside pores), Green Tea Extract (an antioxidant that calms oil production), or Ceramides (to support your skin barrier).
- What to Avoid: Harsh sulfate-based cleansers or bar soaps with a high pH. That tight, “squeaky-clean” feeling is a red flag—it means your skin’s protective barrier has been compromised.
- Pro Tip: Always use lukewarm water. Hot water can strip natural oils and stimulate oil production, while cold water won’t effectively dissolve the oil. Gently massage the cleanser onto your skin for 30-60 seconds before rinsing thoroughly.

Step 2: Alcohol-Free Toner – The Balancer
Why it’s crucial (and not optional for oily skin): A well-formulated toner does three key things: it rebalances your skin’s pH after cleansing (which helps control oil), provides an immediate layer of hydration, and can deliver active ingredients to refine the look of pores.
- What to Use: An alcohol-free formula is non-negotiable. Seek out toners with:
- Niacinamide: The superstar for oily skin. It helps regulate sebum production and minimizes the appearance of pores.
- Salicylic Acid (BHA): Provides a mild, daily exfoliation to keep pores clear.
- Witch Hazel: A natural, gentle astringent that can help soothe and temporarily tighten the appearance of pores.
- Pro Tip: Ditch the harsh rubbing. You can apply it with a soft cotton pad, sweeping gently across the face. For a more hydrating effect and to save product, simply pour a few drops into your palms and press it into your skin.
Step 3: Lightweight Serum – The Targeted Treatment
Why it’s crucial: Serums are powerhouses filled with concentrated active ingredients. In the morning, this is your chance to target oil control and hydration at a cellular level before sealing it all in.
- What to Use:
- For Oil Control: A Niacinamide serum (5% is a great starting concentration) is your best bet for long-term regulation of shine and pore size.
- For Hydration: A Hyaluronic Acid serum attracts and holds up to 1000x its weight in water, plumping the skin with weightless moisture. Oily skin is often dehydrated, making this a game-changer.
- Pro Tip: For maximum absorption and efficacy, apply your serum to slightly damp skin. After toning, while your face is still a little dewy, press the serum in. This helps the hyaluronic acid pull even more hydration into the skin.
Step 4: Oil-Free Moisturizer – The Hydration Seal
Why it’s crucial (Yes, you NEED to moisturize!): This is the most common mistake people with oily skin make. When you skip moisturizer, you dehydrate your skin. Your brain then sends an emergency signal to your sebaceous glands to produce more oil to compensate for the lack of hydration. A good moisturizer keeps your barrier healthy and tells your skin, “It’s okay, we’re hydrated,” which can actually reduce excess oil over time.
- What to Use: A lightweight, oil-free, or gel-based moisturizer. Look for labels like “non-comedogenic” (won’t clog pores). Ingredients like squalane (a bio-compatible oil that mimics your skin’s own) or peptides are excellent.
- Pro Tip: Use a targeted application. Your T-zone (forehead, nose, chin) is typically the oiliest. Apply a smaller amount there and a bit more on your cheeks, which tend to be drier.
Step 5: Sunscreen – Your Non-Negotiable Shield
Why it’s crucial: This is the single most important step in your routine, full stop. Sun exposure doesn’t just cause sunburn; it damages your skin barrier, breaks down collagen, and can thicken the skin and increase sebum production. Wearing sunscreen daily is the ultimate act of prevention for premature aging, dark spots, and, ironically, for controlling oil.
- What to Use: A broad-spectrum sunscreen with at least SPF 30. For oily skin, texture is everything. Look for formulas labeled “non-comedogenic,” “oil-free,” “mattifying,” or with a gel or fluid consistency. Mineral sunscreens with Zinc Oxide can be calming for acne-prone skin.
- Pro Tip: Reapplication is key. If you’re outdoors, sweating, or near a window for long periods, reapply every two hours. A great trick is to use a mattifying SPF powder for touch-ups throughout the day to combat shine and boost protection.
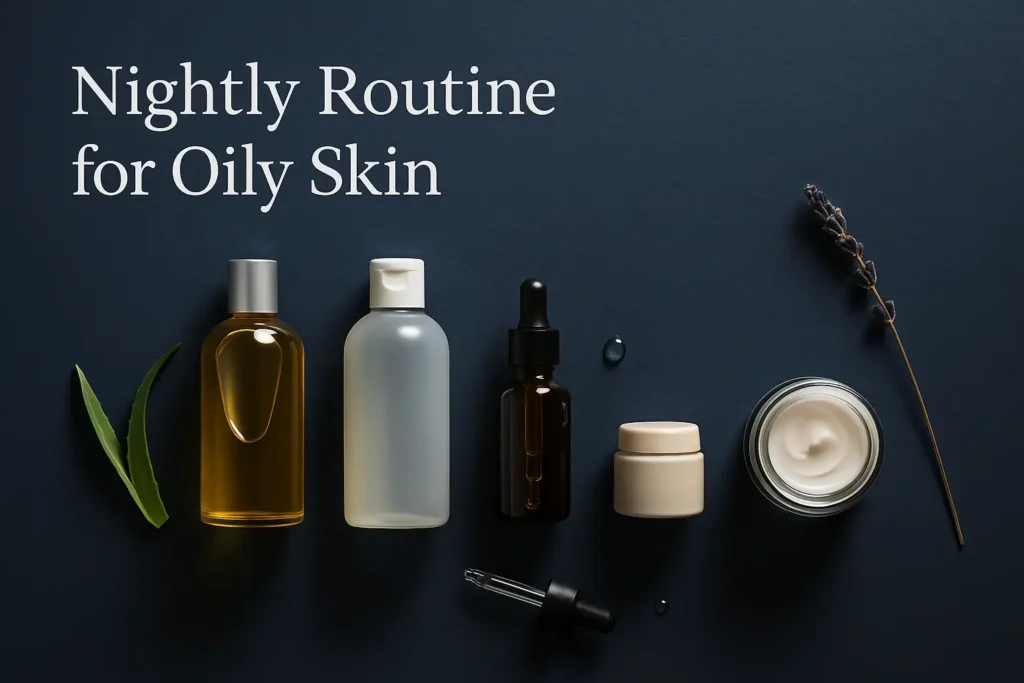
Your Nightly Skincare Routine for Oily Skin
While your morning routine is about protection, your nightly ritual is all about deep recovery and active treatment. This is when your skin shifts into repair mode, making it the most effective time to address concerns like clogged pores, excess oil production, and signs of aging. Forget the day’s grime and stress; this 5-step routine works while you sleep to wake up to a clearer, more balanced complexion.
Step 1: Double Cleanse (First Cleanse) – The Dissolving Act
Why it’s crucial: A single water-based cleanser cannot effectively break down the day’s buildup of sunscreen, makeup, pollution, and excess sebum. Leaving these on overnight is a primary cause of clogged pores and breakouts. The “like dissolves like” principle is key here: an oil-based cleanser is uniquely capable of dissolving all oil-based impurities without stripping your skin.
- What to Use: A cleansing oil or balm. Modern formulas are designed to emulsify—meaning they turn milky when mixed with water—and rinse away completely without leaving a greasy residue. Look for blends with lightweight oils like jojoba or grapeseed.
- Pro Tip: Always apply to a dry face and dry hands. Massage it in for a full 60 seconds to dissolve everything and stimulate circulation. Then, add a little water to emulsify and rinse thoroughly. This step should feel luxurious, not heavy.
Step 2: Water-Based Cleanser (Second Cleanse) – The Deep Clean
Why it’s crucial: The second cleanse is what actually washes your skin. It removes any last traces of the first cleanser, along with sweat and water-based debris. This ensures a perfectly clean slate, allowing your subsequent treatments to penetrate deeply and work effectively without any barrier.
- What to Use: You can use your gentle morning cleanser here. However, since this is a treatment-focused routine, this is a perfect opportunity to use a cleanser with Salicylic Acid (BHA). This allows for a gentle, daily pore-clearing treatment without overdoing it.
- Pro Tip: If you use a Salicylic Acid cleanser, let it sit on your skin for 30-60 seconds before rinsing to give the active ingredient time to work.
Step 3: Exfoliate (1-3 Times Per Week) – The Pore Purge
Why it’s crucial (and not for every night): Exfoliation is your most powerful tool for preventing clogs and breakouts. However, overdoing it can destroy your skin barrier. Nighttime is ideal because it removes the barrier of dead skin cells, enhancing the absorption of your other treatments, and the process can cause temporary photosensitivity.
- What to Use: A chemical exfoliant with Beta Hydroxy Acid (BHA), specifically Salicylic Acid. Because it’s oil-soluble, it can dive inside your pores to dissolve the mix of sebum and dead skin cells that lead to blackheads and pimples. This is far more effective and gentle for oily skin than physical scrubs.
- Pro Tip: Apply this to bone-dry skin after cleansing. Using it on damp skin can increase irritation. Wait 10-20 minutes before moving to the next step to let the pH stabilize and the acid work without interference. Start with once a week and only increase frequency if your skin shows no signs of irritation.
Step 4: Treatment Serum – The Overnight Powerhouse
Why it’s crucial: With your skin freshly cleansed and exfoliated, it’s primed to absorb potent ingredients. Your body’s cellular repair processes kick into high gear at night, making this the perfect window to use targeted treatments that work in synergy with your body’s natural rhythm.
- What to Use:
- Retinol: The gold standard for anti-aging and acne. It accelerates cell turnover, pushing out clogged pores and promoting fresh, smooth skin to the surface. It also helps to normalize oil production over time.
- Spot Treatment: For active blemishes, a treatment with Benzoyl Peroxide (to kill bacteria) or Sulfur (to absorb oil and reduce inflammation) can be applied directly to problem areas.
- Pro Tip: The “Retinol Sandwich” method is perfect for beginners. Apply a layer of moisturizer first, then your retinol, then another light layer of moisturizer. This buffers the ingredient, reducing potential dryness and irritation while still allowing it to be effective.
Step 5: Nourishing Moisturizer – The Overnight Repair Seal
Why it’s crucial: Even oily skin needs to lock in moisture overnight, especially after using potentially drying actives like BHA and retinol. A good night cream supports the skin’s natural repair process, reinforces the barrier, and ensures you wake up with plump, hydrated skin—not dehydrated, reactive skin that overproduces oil.
- What to Use: While your daytime moisturizer can work, consider a slightly more nourishing, non-comedogenic night cream. Look for ingredients like Ceramides (to repair the barrier), Peptides (to support collagen), and Squalane (a lightweight, biocompatible moisturizer).
- Pro Tip: If you’ve used exfoliants or retinol, do not skip this step. This is what keeps your skin barrier resilient and prevents the sensitivity and “rebound oiliness” that can come from aggressive treatments. Gently press the moisturizer into your skin to finish your ritual.
Frequently Asked Questions (FAQ)
Q: Should I skip moisturizer if I have oily skin?
A: Absolutely not! Dehydrated skin will overproduce oil to compensate. A lightweight, oil-free moisturizer is essential to keep your skin balanced.
Q: Can I use the same products for my morning and night routine?
A: Yes, for the most part! Your cleanser and moisturizer can often do double duty. The main differences are the addition of sunscreen in the AM and treatments like retinol and exfoliants in the PM.
Q: Is oil cleansing good for oily skin?
A: Yes! The concept of “like dissolves like” means an oil cleanser is excellent at breaking down the excess sebum, sunscreen, and makeup on your skin without stripping it.
Q: How long will it take to see results?
A: Skin cell turnover takes about 28 days. Be patient and consistent for at least one full month to see a significant change in oiliness and clarity.
Conclusion: Embrace the Glow
Managing oily skin is a marathon, not a sprint. By following this straightforward 6-step routine each morning and night, you are giving your skin exactly what it needs to find its natural balance. Remember, consistency is everything. Ditch the harsh products, embrace lightweight hydration, and never, ever skip your sunscreen.
Stick with it, and you’ll be on your way to a healthier, calmer, and radiant complexion.
Ressources
- American Academy of Dermatology (AAD) – Oily Skin: A trusted resource for understanding the science.
- Visit AAD.org
- INCIDecoder: A fantastic tool to analyze any product’s ingredient list.
- Visit INCIDecoder.com
1 thought on “Morning and Night: The Easy 6-Step Skincare Routine for Oily Skin”