
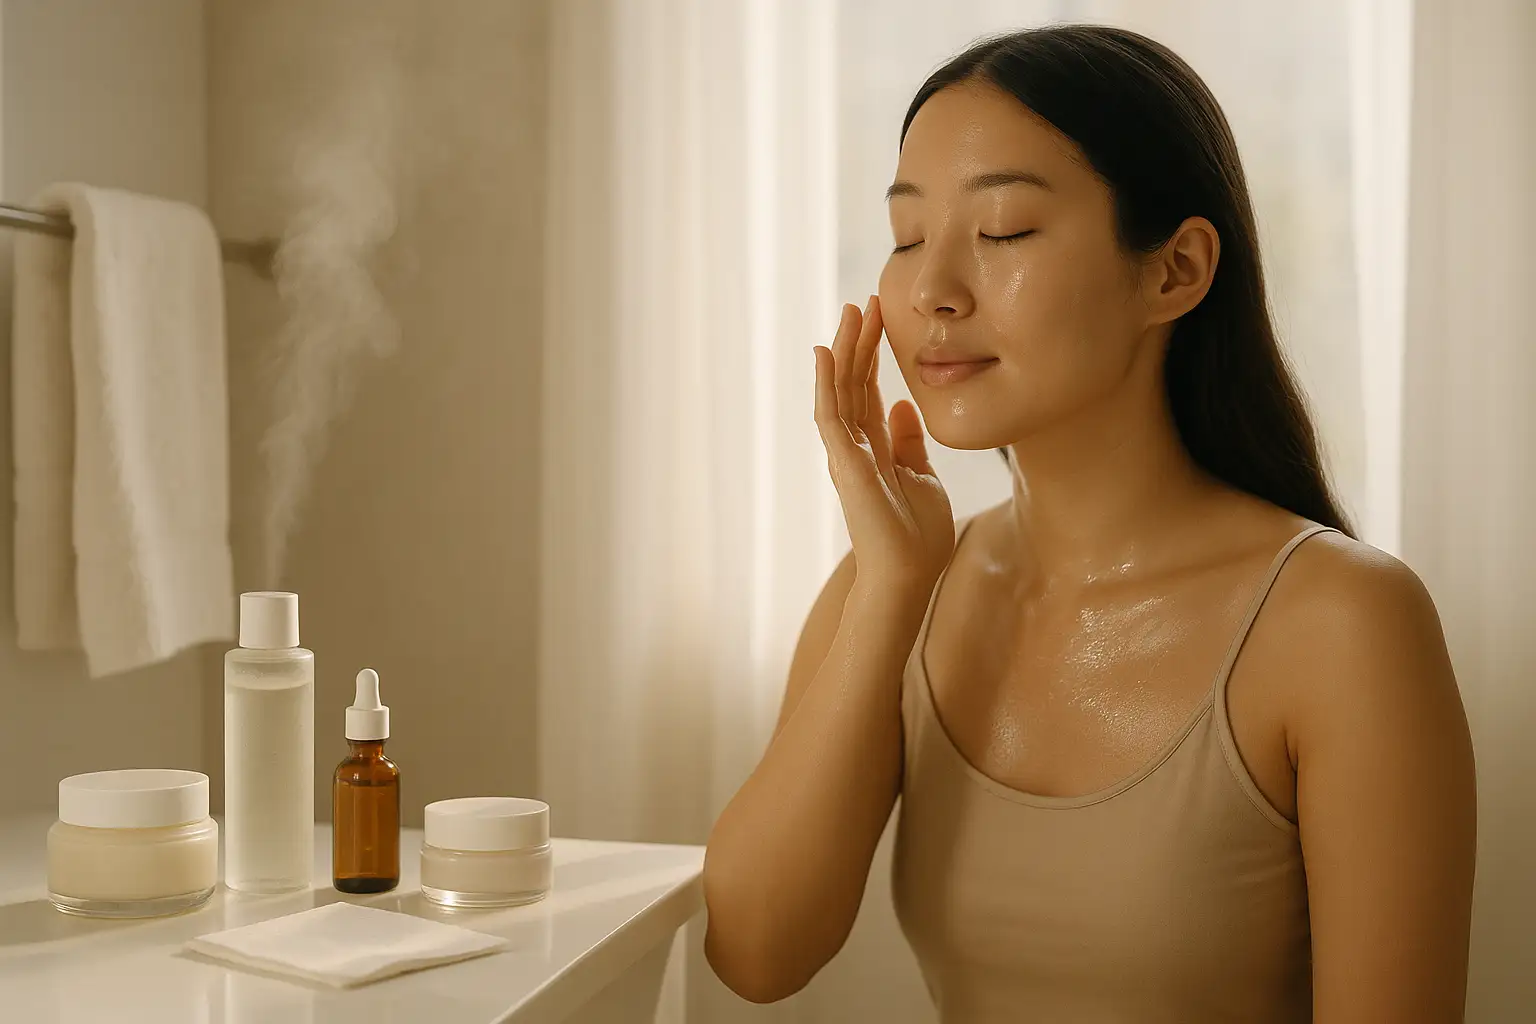
If you’ve ever been curious about K-Beauty, you’ve likely heard of the legendary 10-step Korean skincare routine. It sounds intense, right? Ten products? Every single day?
Before you feel overwhelmed, let us let you in on a secret: it’s not a rigid rulebook. It’s a philosophy of self-care, layering, and listening to your skin. This guide will demystify each step, explain why it works, and show you how to adapt the ritual for your own life and skin goals. Get ready to transform your skin from the inside out!
The K-Beauty Philosophy: More Than Just Steps
Before we dive into the “how,” it’s essential to understand the “why.” The Korean skincare routine is often misunderstood as a high-maintenance chore. In reality, it’s a holistic approach to skin health—a form of self-care that prioritizes long-term well-being over quick fixes.
Think of it not as a rigid 10-step mandate, but as a customizable skincare “wardrobe.” You wouldn’t wear every single item in your closet at once; you select pieces based on the weather, the occasion, and how you feel. Your skincare routine should be the same.
Let’s break down the core principles that make this philosophy so effective:
1. Prevention Over Correction
While Western skincare often focuses on reacting to problems (like using a heavy-duty acne spot treatment or an intensive anti-wrinkle cream), K-Beauty is fundamentally proactive. The goal is to create such a healthy, resilient, and hydrated skin environment that major issues like severe breakouts, premature wrinkles, and significant hyperpigmentation are less likely to occur in the first place. It’s the difference between consistently maintaining a car with regular oil changes versus waiting for the engine to break down. This daily ritual of nurturing is an investment in your skin’s future.
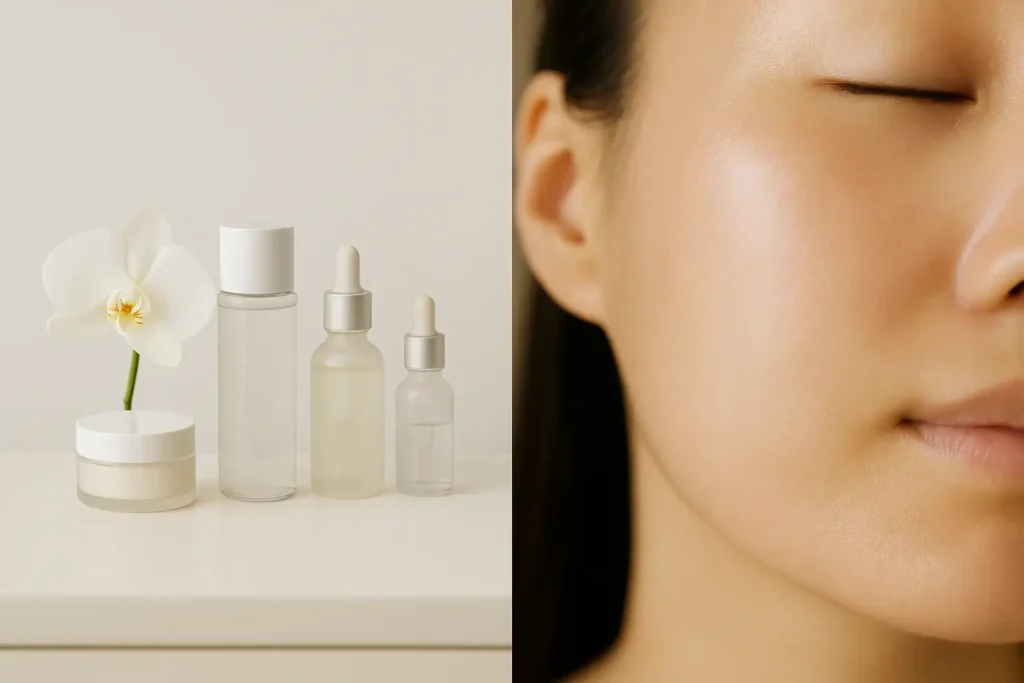
2. Hydration as the Foundation
The single most important word in K-Beauty is hydration. The quest for the famed “glass skin“—skin that is so plump, smooth, and luminous it resembles glass—is ultimately a quest for ultimate hydration. Well-hydrated skin has a stronger barrier, is less prone to irritation, heals faster, and naturally looks brighter and more youthful. This is why you’ll see a focus on ingredients like hyaluronic acid, snail mucin, and beta-glucan, and why the routine involves multiple layers of lightweight, water-based products. It’s about quenching your skin’s thirst, not just sealing it with a heavy cream.
3. The Art of Intelligent Layering
This is where the “steps” truly come into play. The magic isn’t in the number, but in the strategy. Instead of using one thick product that sits on the surface, K-Beauty champions applying multiple, thin layers of specialized products. Each product has a specific job:
- First, prepping the canvas (with toner).
- Then, infusing with active nutrients (with essence and serums).
- Finally, sealing everything in (with moisturizer and face oil).
This method ensures that each active ingredient can penetrate more effectively. Imagine trying to water a dry, hardened plant; the water would just run off. But if you first loosen the soil, the water can be absorbed deeply. Layering works on the same principle for your skin.
4. Listen to Your Skin: The Ultimate Rule of Customization
This is the most crucial takeaway. The 10-step routine is a template, not a commandment. The goal is to become an expert on your own skin. Some days, your skin might feel perfectly balanced and only need 4 steps. Other days, it might feel dehydrated and need the extra TLC of a sheet mask and sleeping pack.
- Oily or Acne-Prone? You might focus on a double cleanse, a BHA exfoliant, and a lightweight, oil-free moisturizer, skipping the heavier steps.
- Dry or Dehydrated? You’ll likely benefit from the full layering power of toner, essence, multiple hydrating serums, and a rich cream.
- Short on Time? A cleanse, tone, moisturize, and sunscreen routine is still a fantastic and effective practice.
The most beautiful part of this philosophy is that it empowers you. It encourages you to slow down, tune into your skin’s needs each day, and create a ritual that is as much about mental wellness as it is about physical results. It’s not about achieving perfection; it’s about enjoying the journey towards healthier, happier skin.
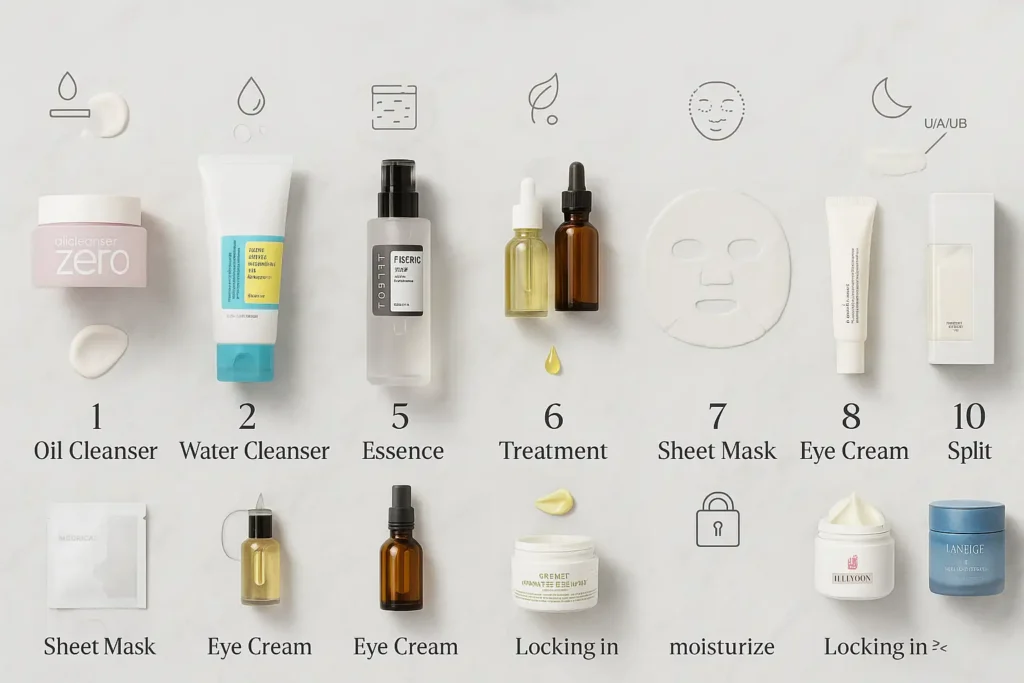
The 10 Steps, Decoded
Think of these ten steps not as a rigid checklist, but as a comprehensive menu of options for your skin. The goal is to understand the purpose of each “course” so you can build a skincare feast that addresses your unique needs. We’ll break down the science, the method, and the product types for each step to turn you from a novice into a confident connoisseur.
Step 1 & 2: The Double Cleanse – The Non-Negotiable Foundation
This two-part cleansing method is the undisputed cornerstone of K-Beauty. A single cleanse often fails to remove all impurities, leading to clogged pores and dull skin. Double cleansing ensures a perfectly clean canvas.
Step 1: Oil-Based Cleanser
- The “Why” Deep Dive: The chemistry principle “like dissolves like” is key here. Oil is effective at breaking down oil-based impurities that water can’t touch: sebum (your skin’s natural oil), stubborn sunscreen (especially physical sunscreens), waterproof makeup, and pollution particles that bind to the oils on your face. A proper first cleanse lifts all this away without stripping the skin.
- How to Do It Correctly:
- Start with completely dry hands and a dry face.
- Take a generous amount of your oil, balm, or milk cleanser and massage it gently over your entire face for 60 seconds. This massaging action also helps improve circulation.
- Add a little water to your hands and massage again. You’ll feel the product turn milky—this is called “emulsifying.”
- Rinse thoroughly with lukewarm water.
- Product to try:Banila Co Clean It Zero Cleansing Balm (a cult classic that transforms from a balm to an oil) or Then I Met You Living Cleansing Balm (a luxurious, antioxidant-rich option).
Step 2: Water-Based Cleanser
- The ”why” Deep Dive: Now that the oil-based debris is gone, the second cleanse addresses any remaining water-based impurities: sweat, dirt, and environmental toxins. It also ensures no residue from the first cleanser is left behind. This step should be gentle, often with a low pH to help restore your skin’s natural acid mantle, which can be slightly disturbed by tap water.
- How to Do It Correctly:
- Dispense a small amount of your gel, foam, or cream cleanser and lather it in your wet hands.
- Massage it onto your damp face in upward, circular motions for about 60 seconds.
- Rinse thoroughly and pat your face dry with a clean towel. Your skin should feel clean and soft, not tight or “squeaky.”
- Product to try: COSRX Low pH Good Morning Gel Cleanser (a slightly exfoliating BHA formula) or La Roche-Posay Toleriane Hydrating Gentle Cleanser for a supremely gentle Western alternative.
Step 3: Exfoliator (1-3 Times per Week) – The Reset Button
Exfoliation is a powerful tool, but overdoing it can damage your skin barrier. The key is consistency and gentleness.
- The “Why” Deep Dive: Our skin naturally sheds dead cells, but this process can slow down with age or due to dryness, leading to a buildup that causes clogged pores, rough texture, and a lackluster complexion. By manually removing this layer, you accelerate skin renewal, reveal brighter skin, and create a smoother pathway for your subsequent products to penetrate more effectively.
- Chemical vs. Physical Exfoliants: K-Beauty heavily favors chemical exfoliants.
- AHAs (e.g., Glycolic, Lactic Acid): Water-soluble. They work on the skin’s surface to brighten, improve texture, and fight surface-level wrinkles.
- BHAs (e.g., Salicylic Acid): Oil-soluble. They penetrate deep into pores to dissolve sebum and dead skin cells, making them ideal for oily and acne-prone skin.
- Physical Scrubs: Use with caution! Harsh scrubs can create micro-tears in the skin. If you prefer physical exfoliation, opt for very fine powders or gentle enzyme-based washes.
- How to Do It Correctly:
- Use only on a clean, dry face, 1-3 times per week, and never on the same day you shave or use other strong actives like retinoids.
- Apply with a cotton pad or your hands, avoiding the immediate eye area.
- Follow the product’s instructions for time (if it’s a leave-on) and always rinse if directed.
- Follow immediately with a hydrating toner and the rest of your routine to soothe the skin.
- Product to try: Paula’s Choice SKIN PERFECTING 2% BHA Liquid Exfoliant (a holy-grail product for clearing pores) or Neogen Bio-Peel Gauze Peeling Lemon pads (a convenient, pre-soaked physical/chemical hybrid).
Step 4: Toner – The Hydration Booster & Prep Step
This step has been completely reinvented by K-Beauty. Forget the stinging, alcohol-laden astringents of the past.
- The “Why” Deep Dive: After cleansing and exfoliating, your skin’s pH can be temporarily elevated. Modern Korean toners are designed to:
- Re-balance your skin’s pH to its optimal slightly acidic state (around 5.5), which is crucial for a healthy skin barrier.
- Provide an initial layer of hydration with ingredients like hyaluronic acid, glycerin, and snail mucin.
- “Prime” the skin’s surface, plumping it up so the following essence and serums can absorb more deeply and effectively.
- How to Do It Correctly:
- The “Skin” Method (Recommended): Pour a few drops into your palms, rub them together, and gently press and pat the product into your face and neck. This method is gentle and prevents product waste.
- The Cotton Pad Method: Soak a soft cotton pad and swipe it gently across your face. This can provide a light, additional cleansing effect.
- Product to try: Klairs Supple Preparation Unscented Toner (a deeply hydrating and calming hero) or LANEIGE Cream Skin Toner & Moisturizer (a unique 2-in-1 product that’s perfect for dry skin or minimalist routines).
Step 5: Essence – The Heart of K-Beauty
The essence is what truly differentiates the Korean routine. It’s more than just a toner, but lighter than a serum.
- The “Why” Deep Dive: Essences are lightweight, water-based liquids fermented and packed with a high concentration of active ingredients like galactomyces, bifida, or probiotics. Their primary role is to hydrate at a cellular level and promote natural skin cell turnover. Think of them as a “nutrient-rich soup” for your skin, kickstarting the repair process and enhancing elasticity, which leads to that coveted bouncy, plump texture.
- How to Do It Correctly:
- After your toner has settled, pour a coin-sized amount of essence into your palms.
- Gently press your hands onto your face and neck, allowing the product to absorb. Avoid rubbing.
- You can layer 2-3 skins of essence for an extra hydration boost if your skin is feeling particularly dry.
- Product to try: The iconic COSRX Advanced Snail 96 Mucin Power Essence (incredibly hydrating and healing) or Missha Time Revolution The First Treatment Essence (a beloved dupe for luxury ferments that brightens and refines).
Step 6: Treatment (Serums & Ampoules) – The Targeted Solution
This is where you play scientist and tailor your routine to your specific concerns.
- The “Why” Deep Dive: Serums and ampoules are highly concentrated treatments designed to deliver a powerful dose of active ingredients deep into the skin.
- Serums are typically lighter and target 1-2 key concerns (e.g., vitamin C for brightness, niacinamide for pores).
- Ampoules are even more potent, often with a higher concentration of actives, and are used for a finite period to address a specific issue intensely (like a “boost” during a breakout or period of extreme dryness).
- How to Do It Correctly:
- Apply a small amount (2-3 drops) to your face and neck after your essence.
- If layering multiple serums, apply them in order of thinnest to thickest consistency and wait a few seconds between each for better absorption.
- Always allow watery serums to absorb before applying thicker, creamier ones.
- Product to try: For brightening and antioxidant protection, COSRX Vitamin C 23 Serum. For calming redness and irritation, SKIN1004 Madagascar Centella Asiatica Ampoule (a pure, simple, and effective formula).
Step 7: Sheet Mask (1-3 Times per Week) – The Hydrating Treatment
This is the most iconic and relaxing step in the routine.
- The “Why” Deep Dive: A sheet mask is a multi-tasking treatment. The physical sheet creates an occlusive barrier on the skin, which temporarily increases skin temperature and pore opening. This “forced absorption” allows the concentrated serum in the mask to penetrate deeper into the skin than it normally would, resulting in immediate and significant hydration, plumping, and brightening. It’s a quick and effective way to give your skin a major moisture boost.
- How to Do It Correctly:
- Unfold the mask and apply it to your clean, toned face, smoothing it out so it adheres closely to your skin.
- Relax for 15-20 minutes. Do not leave it on for too long, as the mask can start to dry out and pull moisture from your skin.
- Remove the mask and gently pat the remaining serum into your skin until it’s fully absorbed. Do not rinse!
- Continue with the rest of your routine (eye cream, moisturizer) to seal in all that goodness.
- Product to try: Mediheal Sheet Masks (they offer a wide variety for different concerns and are incredibly affordable).
Step 8: Eye Cream – The Delicate Area Guardian
The skin around your eyes is the thinnest and most fragile on your face, making it the first area to show signs of aging, dryness, and fatigue.
- The “Why” Deep Dive: While your face moisturizer provides some hydration, a dedicated eye cream is formulated to be effective yet gentle enough for this delicate area. They are typically richer and contain targeted ingredients like peptides for firming, caffeine for depuffing, and brightening agents for dark circles.
- How to Do It Correctly:
- Take a pea-sized amount (or even less) for both eyes.
- Using your ring finger (which applies the least pressure), dab small dots of product along the orbital bone, from the inner corner to the outer corner and slightly underneath the eye.
- Gently pat and tap the product in until absorbed. Never tug or rub.
- Product to try: innisfree Jeju Orchid Eye Cream (nourishing and anti-aging) or Kiehl’s Creamy Eye Treatment with Avocado (an intensely hydrating classic).
Step 9: Moisturizer – The Moisture Lock
If the previous steps are about adding water, this step is about keeping it in.
- The “Why” Deep Dive: A moisturizer’s primary job is occlusion. It creates a protective seal over your skin, preventing all the hydrating layers you’ve just applied from evaporating. This not only keeps your skin soft and supple throughout the day or night but also actively supports and strengthens your skin’s natural moisture barrier. A healthy barrier is your best defense against irritation, sensitivity, and trans-epidermal water loss.
- How to Do It Correctly:
- Choose your texture wisely:
- Gel or Gel-Cream: Best for oily/combination skin.
- Lotion: Good for normal/combination skin.
- Cream or Balm: Ideal for dry/mature skin.
- Take an adequate amount and warm it between your palms.
- Press and massage it gently into your face and neck using upward strokes.
- Choose your texture wisely:
- Product to try: illiyoon Ceramide Ato Concentrate Cream (a fantastic, affordable barrier-repair cream) or TATCHA The Water Cream (a luxurious, oil-free gel-cream that provides weightless hydration).
Step 10 (AM): Sunscreen – The Non-Negotiable Finale
This is, without exaggeration, the most crucial step in any skincare routine, period.
- The “Why” Deep Dive: Sun exposure is the leading cause of premature aging (photoaging), responsible for up to 90% of visible skin damage like wrinkles, sun spots, and loss of elasticity. It also significantly increases the risk of skin cancer. Sunscreen is your primary shield against harmful UVA (aging) and UVB (burning) rays. No other product can prevent this damage, and no skincare routine is complete without it.
- How to Do It Correctly:
- Apply it as the absolute last step of your morning routine, after moisturizer and before makeup.
- Use a generous amount—about two finger-lengths’ worth for your face and neck. Most people under-apply.
- Apply it every single day, regardless of the weather, if you’re indoors, or if it’s winter. UV rays are present year-round.
- Product to try: Beauty of Joseon Relief Sun: Rice + Probiotics (a beloved chemical sunscreen with a dewy, non-greasy finish) or Round Lab Birch Juice Moisturizing Sun Cream (a hydrating, physical/chemical hybrid that feels like a light moisturizer).
Step 10 (PM): Sleeping Mask or Pack – The Overnight Transformer
This is your skin’s nightly treatment boost, a way to wake up with visibly better skin.
- The “Why” Deep Dive: Sleeping masks are not just thick moisturizers. They are often packed with higher concentrations of treatment ingredients and have a unique texture that creates an occlusive seal, similar to a moisturizer but often more sophisticated. This seal not only prevents water loss but also enhances the penetration of active ingredients, allowing them to work their magic while your body is in repair mode. It’s the ultimate multi-tasking step: intensive treatment and maximum hydration.
- How to Do It Correctly:
- Use it 2-3 times per week, or as needed, when your skin feels dry or dull.
- Apply a generous layer as the very last step of your nighttime routine, after your moisturizer.
- You can use it on nights you don’t use a sheet mask for a different kind of intensive treatment.
- Product to try: The legendary LANEIGE Water Sleeping Mask (a hydrating gel that provides an instant glow) or Sulwhasoo Overnight Vitalizing Mask (a luxurious, herb-infused treatment that revitalizes tired skin).
Your Routine, Your Rules: Customization is Key
Feeling overwhelmed? Let’s simplify. You don’t need to do all 10 steps. Here’s how to build your own routine:
- The Beginner’s 4-Step Core:
- Cleanse (you can even just use a water-based cleanser in the AM if you have dry skin)
- Tone
- Moisturize
- Sunscreen (AM)
- The 5-7 Step “Glow Getter” Routine: Add 1-2 targeted treatments.
- AM: Cleanse, Tone, Serum, Moisturize, Sunscreen.
- PM: Double Cleanse, Tone, Essence, Serum, Moisturize.
- The Full 10-Step “Self-Care Sunday” Ritual: Perfect for a weekly pampering session when you have the time.
Listen to your skin. If it feels tight, focus on hydration. If it’s breaking out, focus on calming serums and gentle cleansing. The goal is consistency, not perfection.
Final Thoughts
The Korean 10-step skincare routine is a journey, not a destination. It’s a customizable ritual that encourages you to connect with your skin and invest in its long-term health. Start slow, introduce new products one at a time, and be patient. The results—a healthier, happier, and more radiant complexion—are well worth it.
Resources & Further Reading
To help you on your K-Beauty journey, here are some of our favorite trusted sources for information, reviews, and products:
- Soko Glam: Founded by Charlotte Cho, a pioneer in bringing K-Beauty to the US. Their blog and shop are fantastic resources.
- Peach & Lily: Another highly trusted source for curated K-Beauty products and expert advice.
- YesStyle: A great online retailer for a wide variety of Asian beauty and fashion brands.
- StyleKorean: Offers a large selection of Korean skincare and cosmetics, often with great deals.
- r/AsianBeauty: A massive and incredibly knowledgeable Reddit community where you can find reviews, routines, and ask questions.
- Glow Recipe: A brand inspired by K-Beauty, known for its fruit-powered formulas and transparent approach to ingredients.
1 thought on “The 10-Step Korean Skincare Routine for Beginners: Everything You Need to Know”